If you’re planning to study, work, visit, or relocate to Canada, understanding how to apply for a Canadian visa is essential.
This updated 2025 guide provides a clear, structured, and professional explanation of all steps required to successfully obtain a Canadian visa through Immigration, Refugees and Citizenship Canada (IRCC).
This article is optimized for keywords such as:
- Canada visa application
- How to apply for a Canadian visa
- Canadian study visa requirements
- Canada visitor visa process
- Canada immigration steps
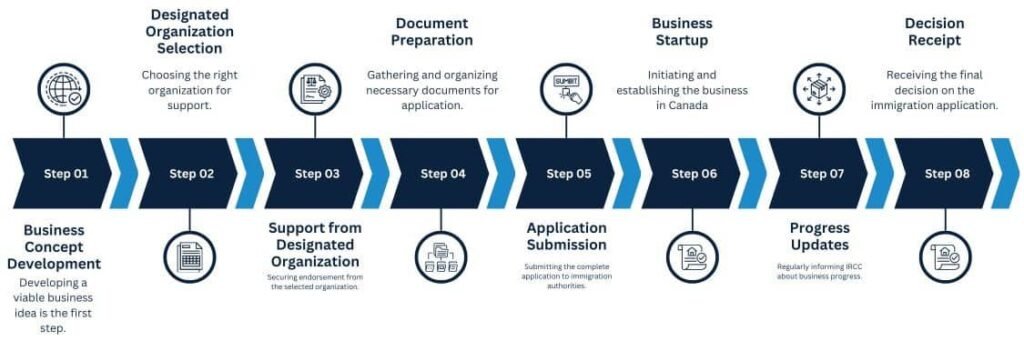
Step 1: Choose the Right Canadian Visa Type
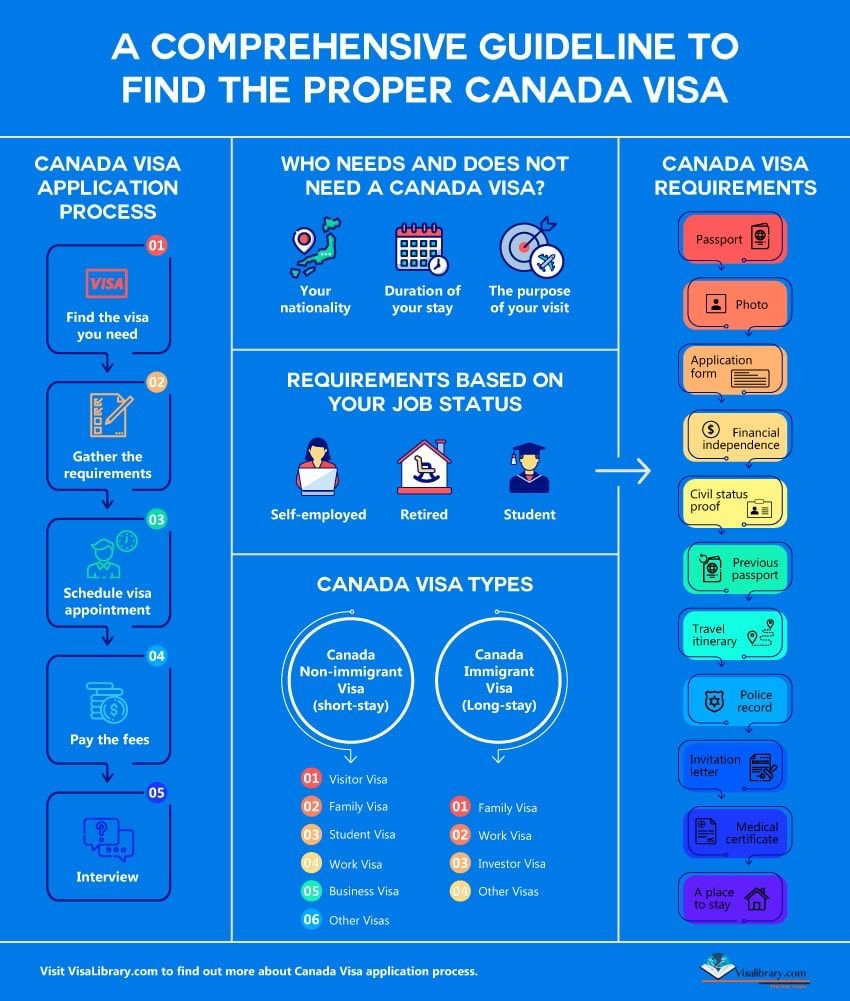
Canada offers several visa categories depending on your purpose of travel:
- ✔ Visitor Visa (TRV)
For tourism, family visits, or short business trips.
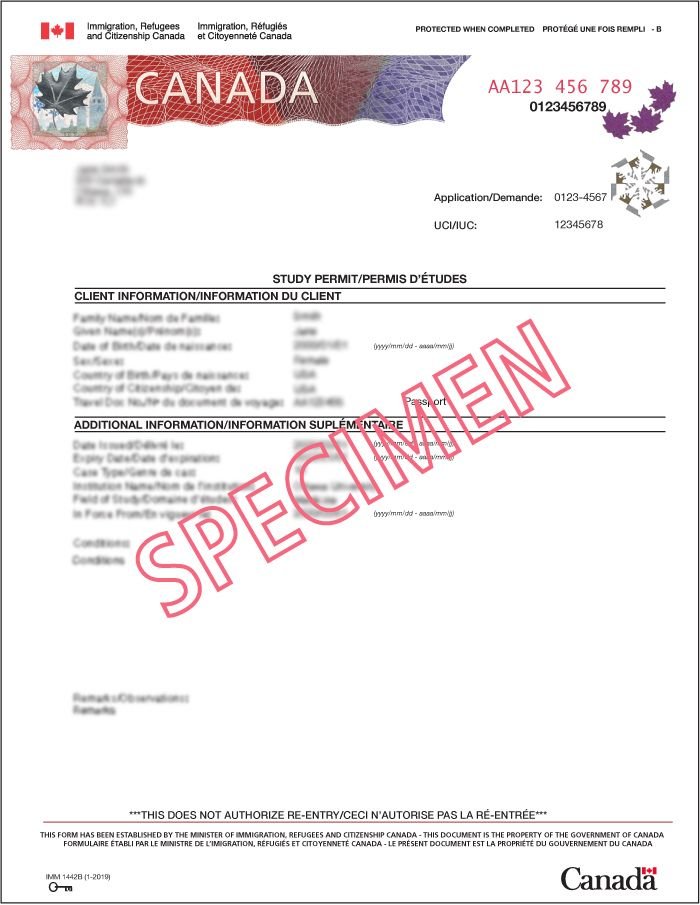
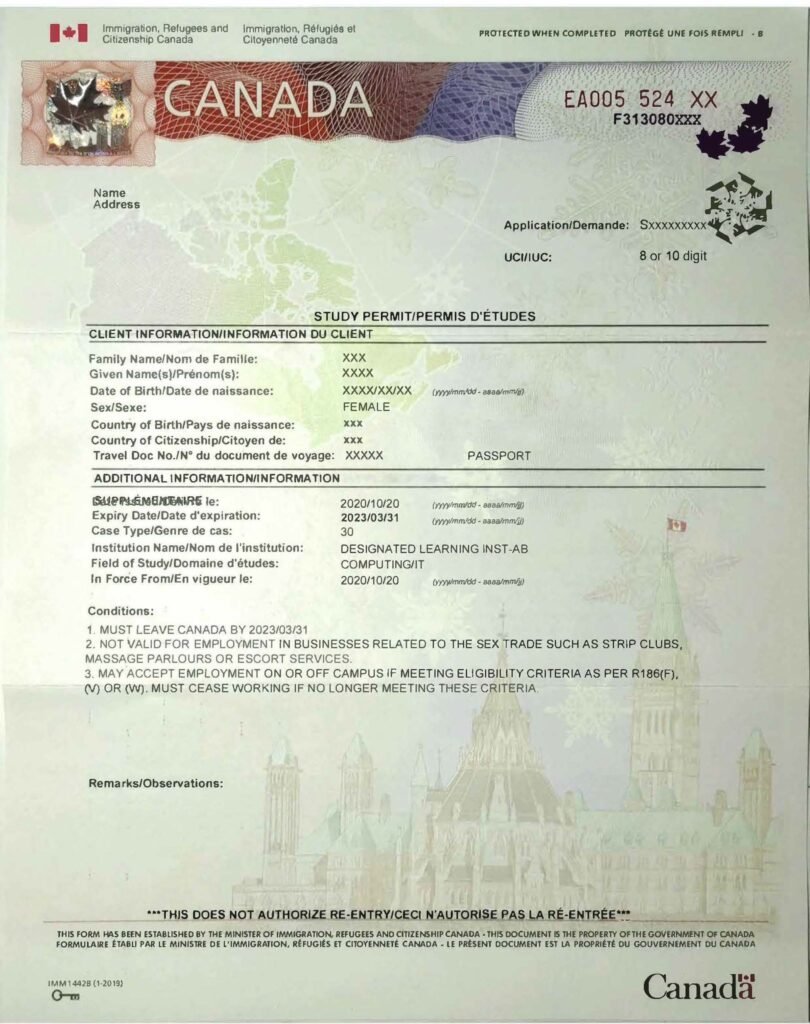
- ✔ Study Permit
Required for academic programs longer than six months.
Often leads to the Post-Graduation Work Permit (PGWP).
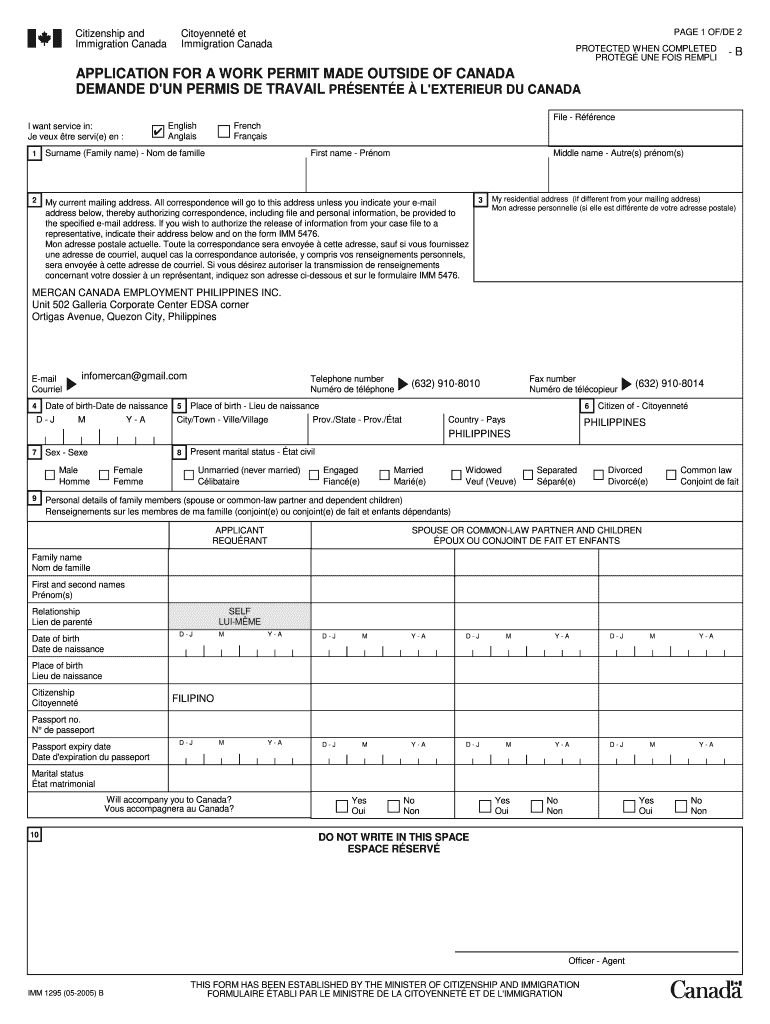
- ✔ Work Permit
Includes LMIA-based, employer-specific, or open work permits.
- ✔ Permanent Residency Pathways
Express Entry, Provincial Nominee Programs (PNPs), and family sponsorship.
Choosing the correct category ensures you follow the right documentation and processing stream.
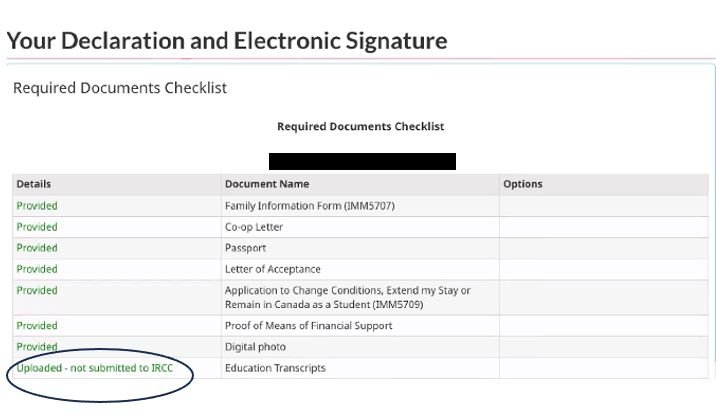
Step 2: Prepare All Required Documents (Accurately & Completely)
IRCC evaluates your application based on your documentation.
Missing or inconsistent documents are the most common reason for visa refusal.
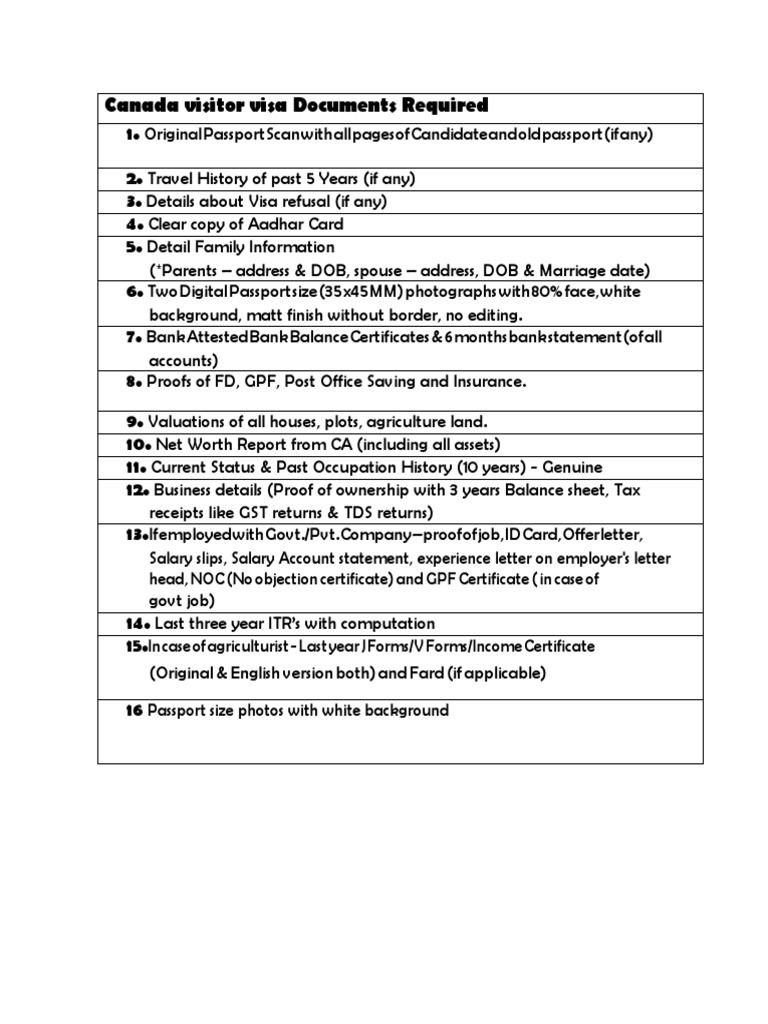
Typical required documents:
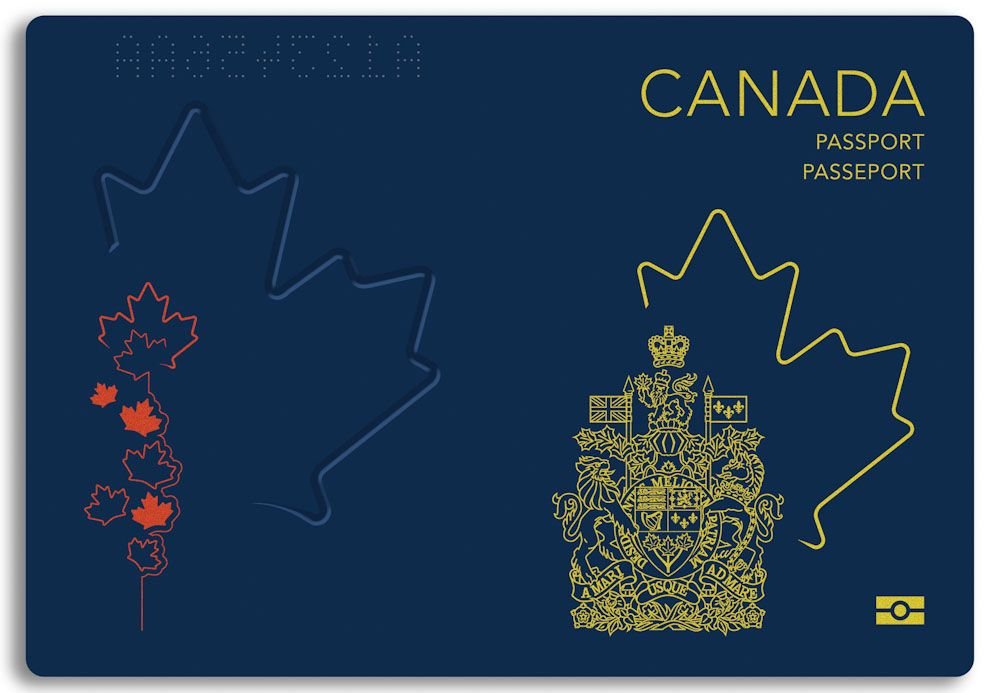
- Valid passport
- Digital photo meeting IRCC standards
- Financial proof (bank statements, sponsor letters, etc.)
- Ties to home country (employment, property, family)
- Purpose-of-travel documents (LOA, itinerary, job offer)
- Police certificate (if applicable)
- Medical exam (for long-term stays or specific categories)
High-quality documentation significantly increases approval chances.
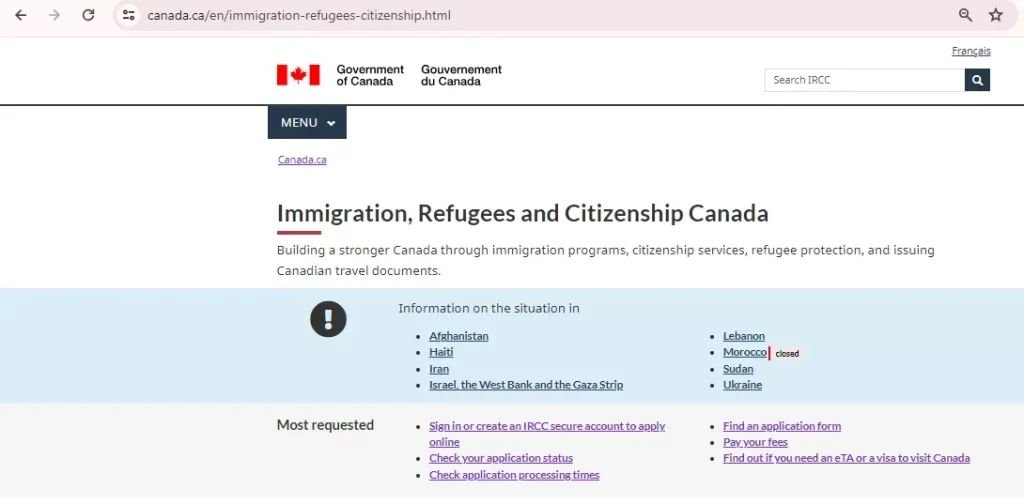
Step 3: Submit Your Application Online via the IRCC Portal

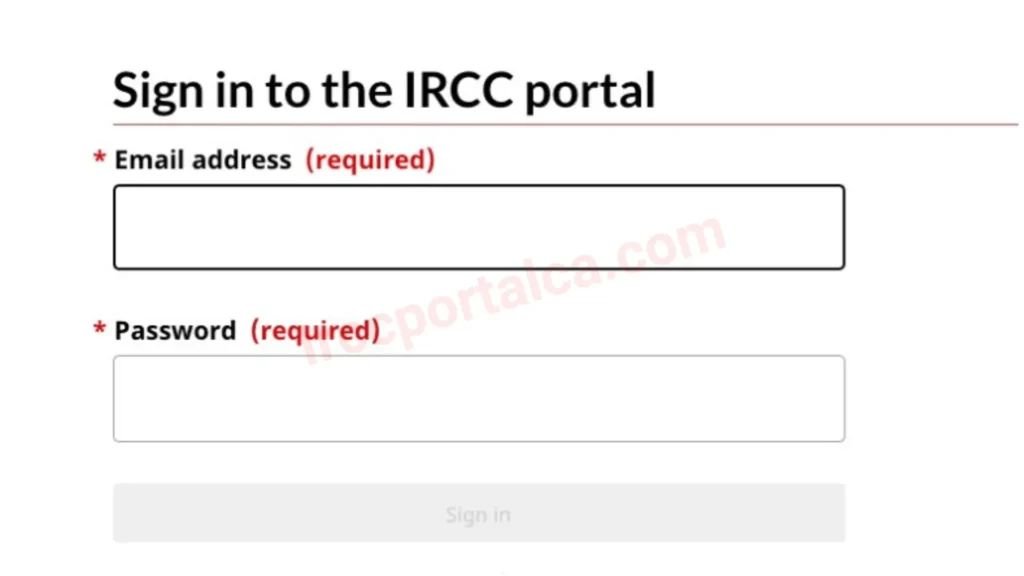
All visa applications are filed digitally.
Applicants must:
- Create an IRCC account
- Fill out all forms accurately
- Upload supporting documents
- Pay the application and biometrics fees
A clean, error-free submission is crucial for smooth processing.
Step 4: Complete Biometrics at a VFS Global Center

After submitting your application, IRCC issues a Biometric Instruction Letter (BIL).
You must then:
- Book an appointment
- Provide fingerprints and a photo at a VFS center
Biometrics remain valid for 10 years.
Step 5: Wait for IRCC Processing & Provide Additional Documents If Needed
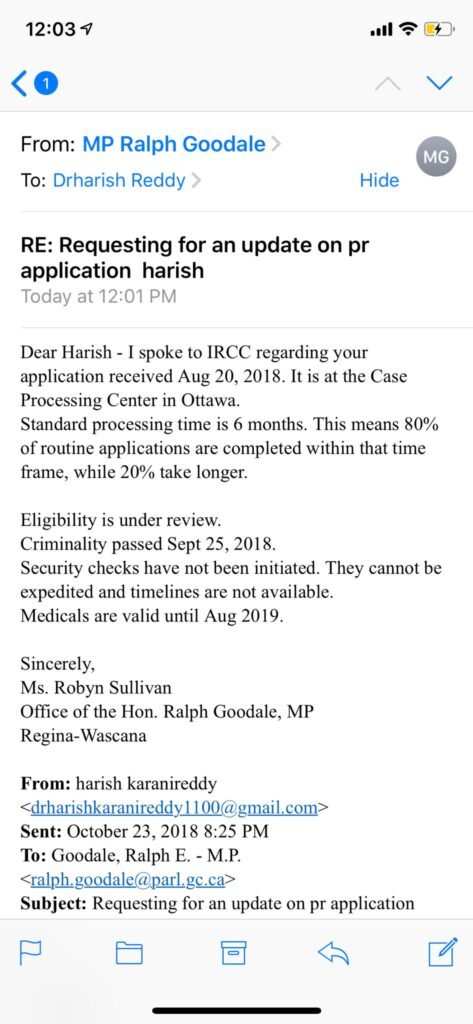
During processing, IRCC may request:
- Updated financial statements
- Additional supporting documents
- Clarifications about your travel purpose
- A repeat medical exam
Respond promptly to avoid delays.
Step 6: Receive Your Visa Decision

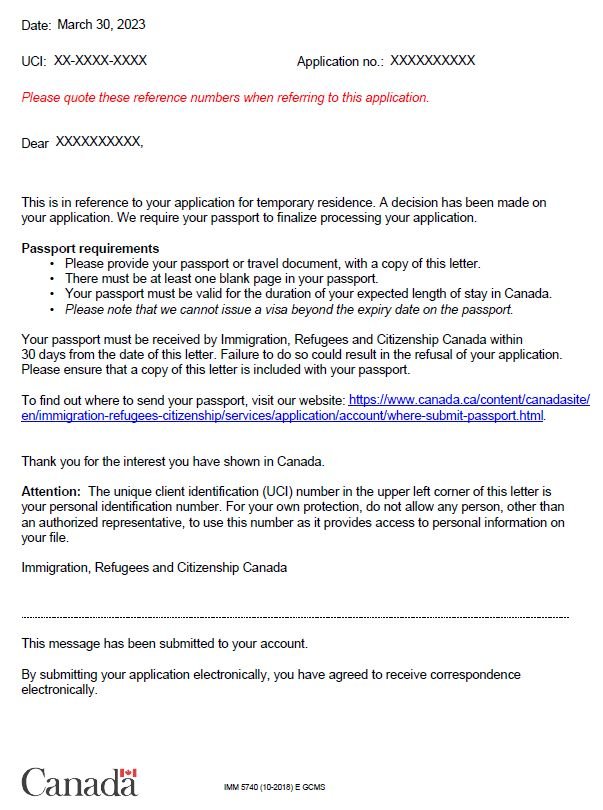
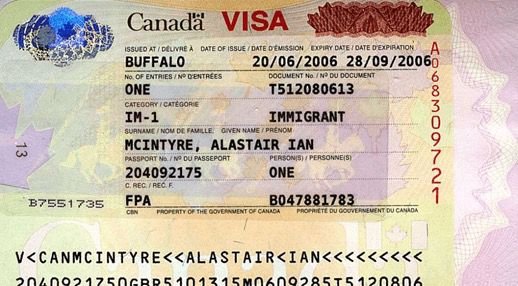
If approved, you will receive one of the following:
- Passport Request (PPR)
For visitor visas — your passport is stamped.
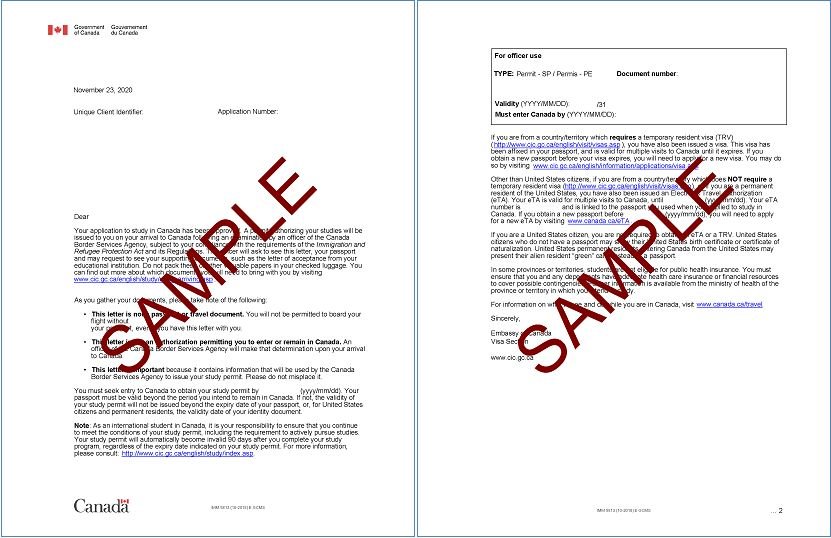
- Port of Entry (POE) Letter
For study and work permits — your permit is issued at the border.
If refused, IRCC provides reasons that help you prepare a stronger re-application.
Step 7: Travel to Canada & Finalize Entry


At the airport, the Canada Border Services Agency (CBSA) will:
- Verify your passport and visa
- Review your POE letter
- Check your supporting documents
Once cleared, you are officially allowed to enter Canada.
SEO-Optimized Conclusion
Obtaining a Canadian visa requires proper documentation, accurate online submission, and timely biometrics. By following these steps, applicants can confidently complete the process and increase their chances of approval.
This guide is ideal for anyone searching for:
- How to apply for a Canada visa
- Steps to get a Canadian visa
- Canada study visa requirements
- Canada work permit application process
- Visitor visa to Canada process
If you’re planning to visit, study, or work in Canada, following these professional steps will streamline your application and help you reach your goals faster.
No comment